Become a Seller — AWS Marketplace
Stage 1 — complete this before Automatum
This is a prerequisite. Complete AWS seller registration (approved seller with verified tax & banking) before you onboard to Automatum. A published listing isn't required first — Automatum can create or sync listings. See Before You Begin for the full readiness checklist.
Registering as an AWS Marketplace seller now runs through AWS Partner Central, which AWS has consolidated with the AWS Marketplace Management Portal. This guide summarizes each step and links to the authoritative AWS documentation.
New to AWS Partner Central?
For the partner sign-up flow, the partner stages, and how fees and payments work, see Becoming an AWS Partner first.
What you'll need to gather
- A government-issued photo ID and a smartphone for identity verification (a QR-code mobile flow captures a selfie) — only if you don't already have an AWS Partner Central account; existing Partners are already verified
- Legal company name and business tax ID (EIN, VAT, GST, or local equivalent)
- An alliance lead contact name and email (manages your AWS relationship)
- Display name, company website, and description for your public profile
- A bank account that can accept USD disbursements (payouts)
Timeline
AWS states seller registration can take 1–4 weeks when your information is accurate. Start early.
Use an IAM role, not root
AWS recommends signing in with an IAM role rather than root account credentials.
Seller types
AWS Marketplace supports ISVs (software vendors), channel partners (resellers/distributors), managed service providers (MSPs), and individuals. Most Automatum customers register as ISVs.
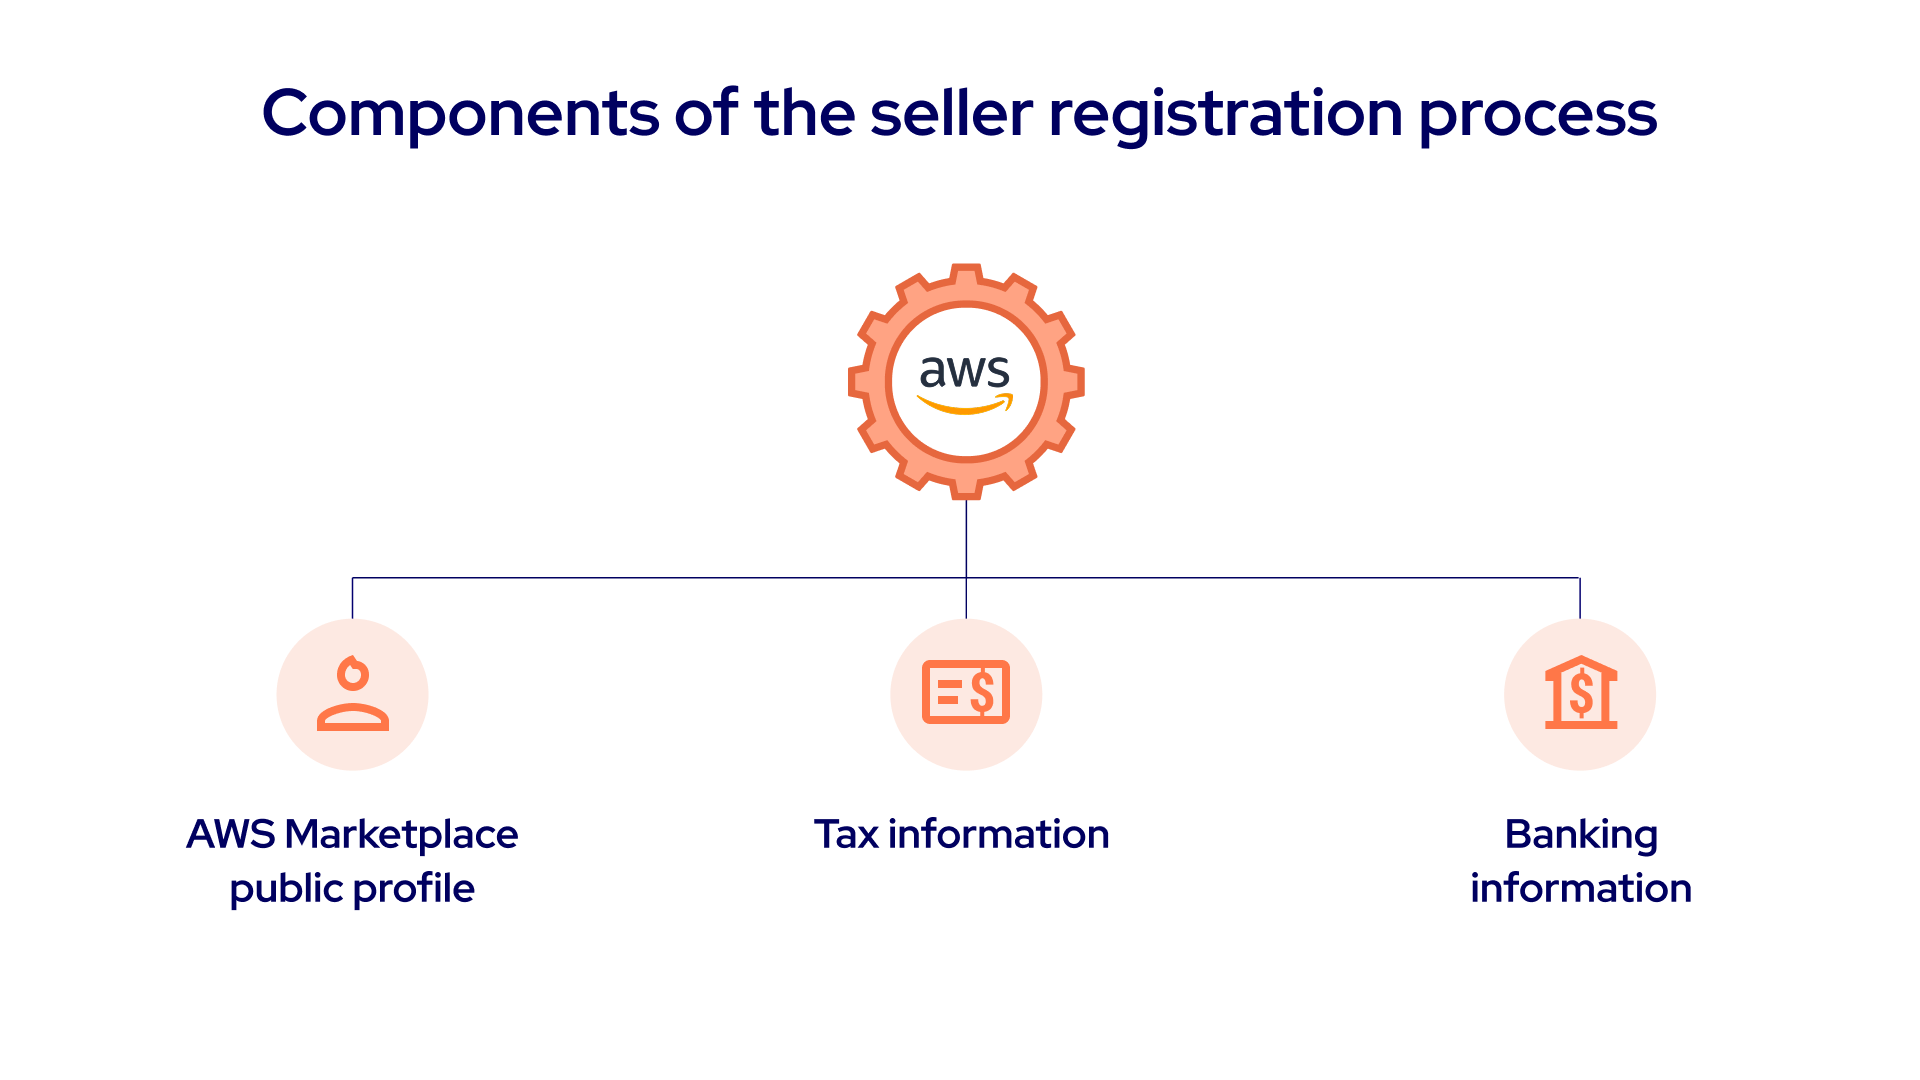
Placeholder image from a public guide — replace with an Automatum-owned graphic before public launch.
Registration steps
Complete these in order. See AWS's Registration process for full detail.
1. Register and verify your business
Go to aws.amazon.com/partners/marketplace, choose Register Now, and sign in to the AWS account you want as your primary AWS Marketplace account. Registration runs through AWS Partner Central (the APN portal): you first create or link a Partner Central account, and that Partner account is a prerequisite for Marketplace seller registration. It's also what later unlocks co-sell opportunities through AWS's ACE (APN Customer Engagements) program.
If you're creating a new Partner Central account, you'll complete identity and business verification — this pairs your government photo ID with a smartphone selfie through a QR-code mobile flow (3 attempts per 24 hours, so have good lighting and your ID ready), along with your legal company name, business tax ID, and alliance lead contact. If you already have an AWS Partner Central account, you're already verified — skip identity verification and go straight to your Marketplace seller settings. → AWS: Identity verification process
Use a dedicated AWS account
Register with a dedicated AWS account as your seller-of-record — the account that legally makes the sales — rather than one that also runs production workloads. It keeps billing, disbursements, and access cleanly separated. → AWS: Seller account considerations
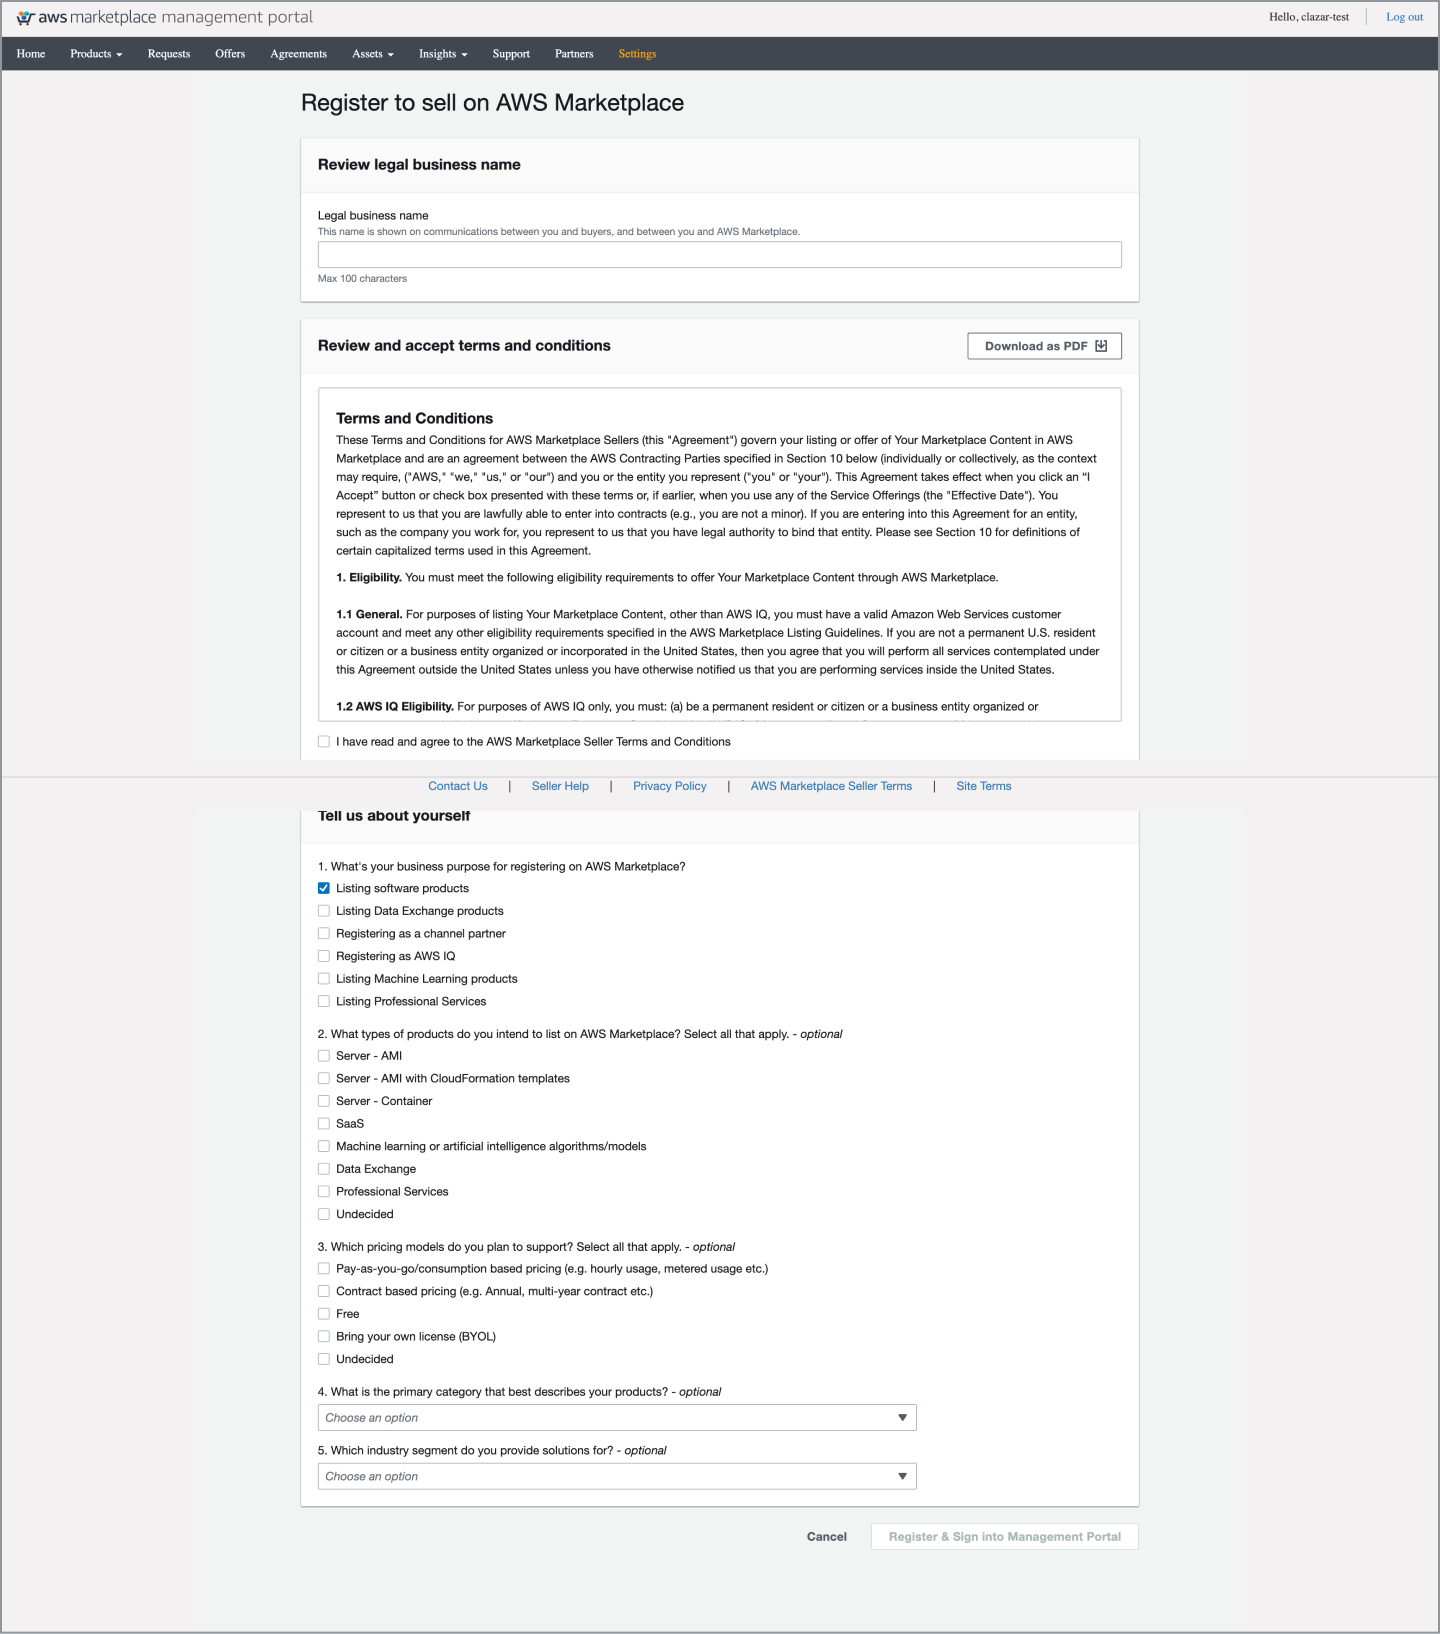
Placeholder image from a public guide — replace with your own AWS portal capture before launch.
2. Create your public profile
In Partner Central, open AWS Marketplace settings → Add public profile and provide the buyer-facing details: display name (up to 40 characters), company website, description (up to 600 characters), and support contact. → AWS: Create your public profile
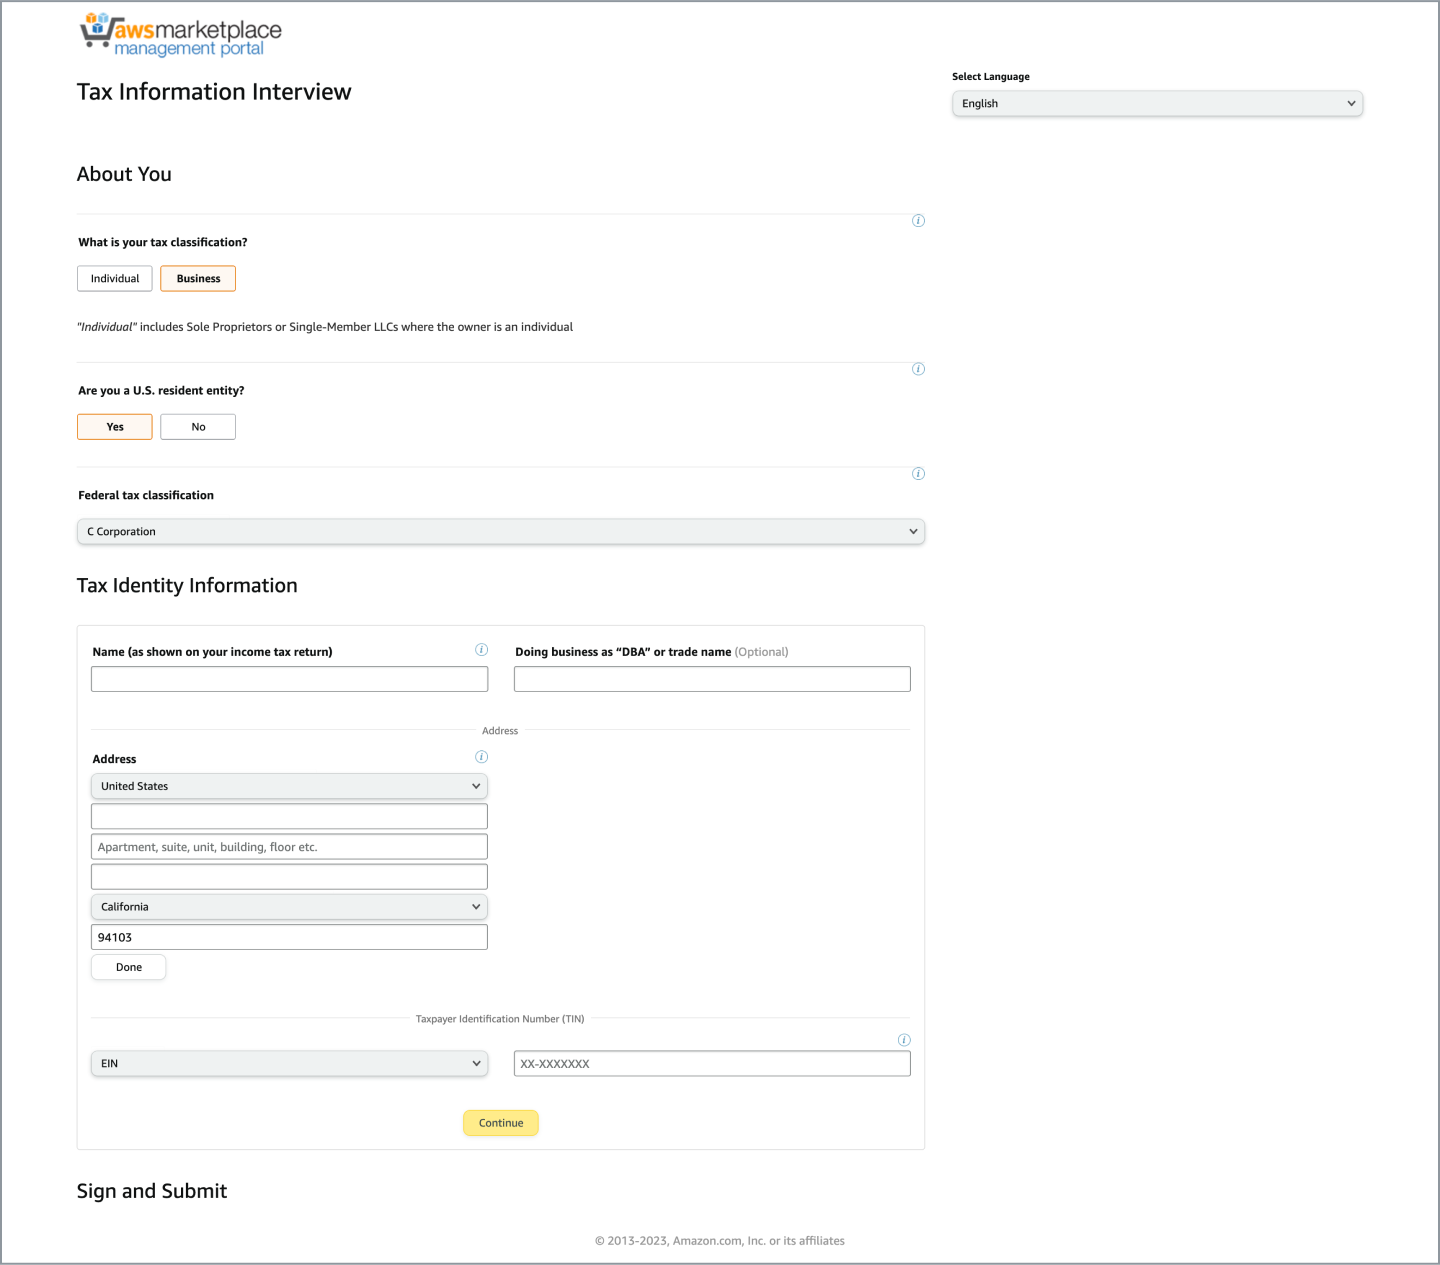
3. Provide tax information
Submit your tax (and VAT, where applicable) information so AWS can report and withhold correctly. Required only if you plan to sell paid products.
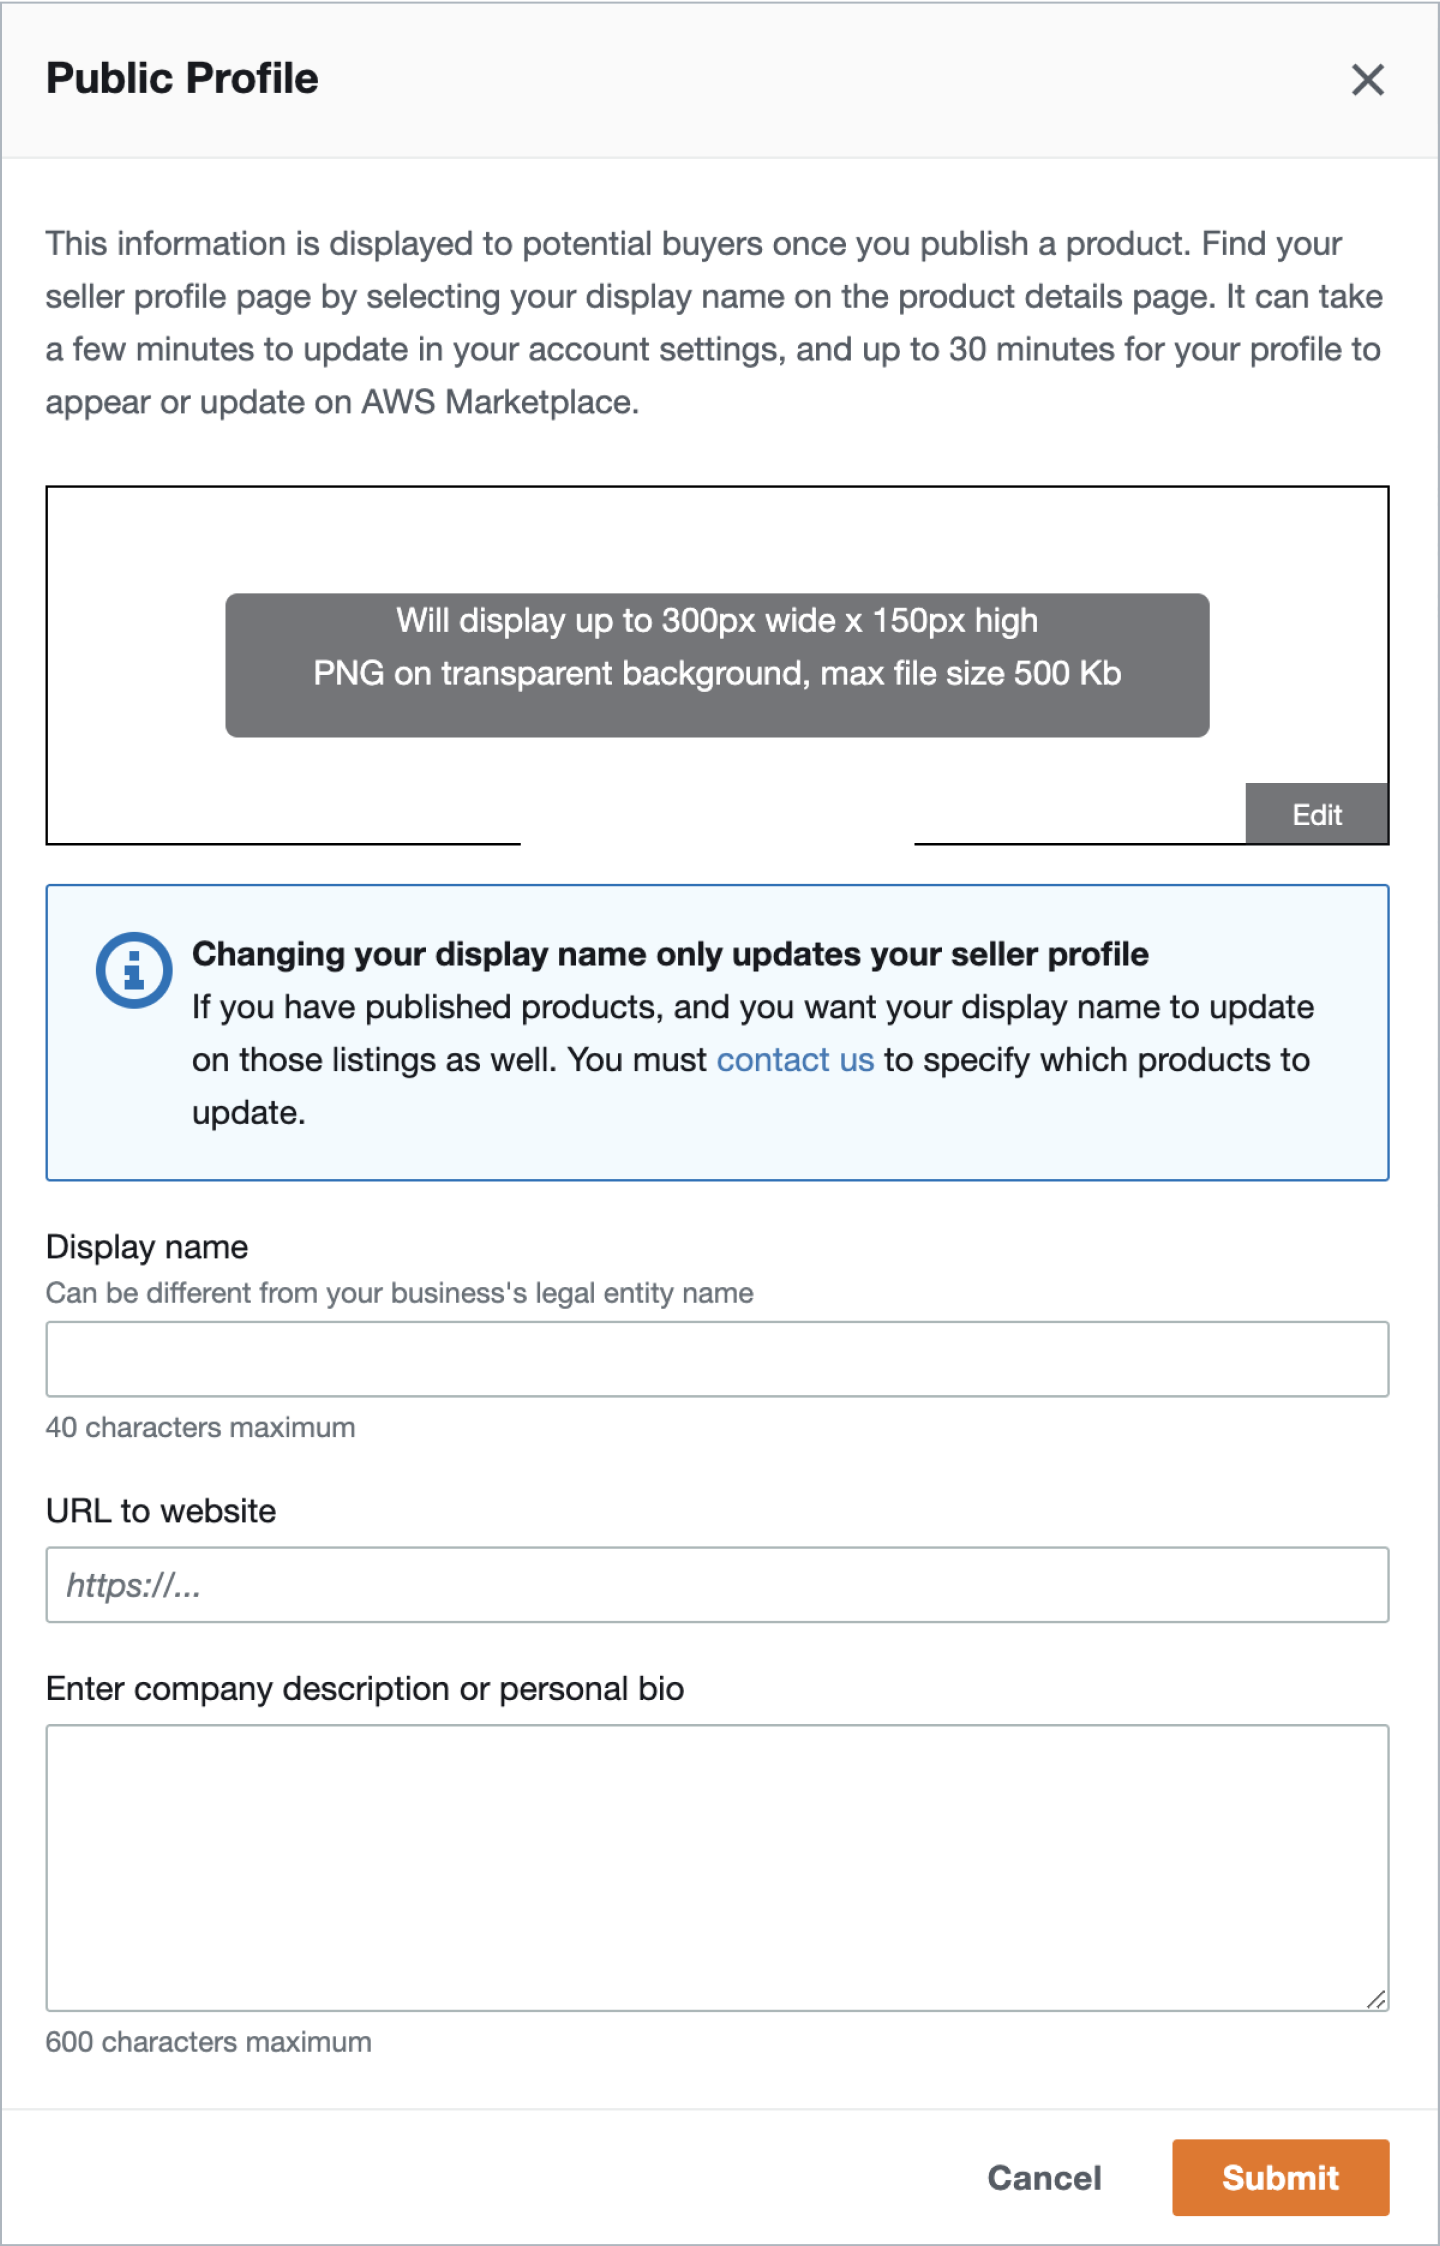
Placeholder image from a public guide — replace with your own AWS portal capture before launch.
4. Provide bank account and disbursement details
For paid products, add a bank account that can accept USD disbursements, then set how and when you want to receive payments. You must have both bank and disbursement details set before you can create any public or private offers — set this up early so listing work isn't blocked.
Placeholder image from a public guide — replace with your own AWS portal capture before launch.
5. Complete verification and KYC
Verify your bank account so AWS can send disbursements. If you sell to EMEA customers, transact with U.K.-based bank accounts, or want to get paid for Republic of Korea transactions, also complete the KYC ("Know Your Customer") process.
Listings
You don't need a published product before connecting — once linked, Automatum can create new listings or sync existing AWS Marketplace products (syncing is one-way, from AWS into Automatum). See AWS Marketplace overview for supported product types.
Product types you can list
When you create a listing you choose a product type (distinct from the seller type above). AWS Marketplace supports:
| Product type | What it is |
|---|---|
| SaaS | Cloud-hosted software billed through AWS (subscription, contract, or usage) |
| AMI (server) | Software delivered as an Amazon Machine Image that buyers run on EC2 |
| Container | Container images and Helm charts for ECS, EKS, or on-prem Kubernetes |
| Machine Learning | Models and algorithms delivered via Amazon SageMaker |
| Professional Services | Implementation, training, and support engagements |
AI agent products are a newer category AWS is rolling out — confirm current availability in Partner Central if that's your product.
Fees to expect
AWS Marketplace charges a seller/listing fee that varies by product type and deal specifics (it uses tiered/reduced rates for many scenarios rather than a single flat percentage). Check the current figures in the official seller guide rather than budgeting from a fixed number. → AWS Marketplace Seller Guide
Listing review time
After you submit a listing, AWS review typically takes ~3–10 business days. Build this into your go-live timeline.
Common gotchas
- Verification delays — identity, tax, and bank verification are the usual bottleneck; submit accurate details the first time.
- Root vs. IAM — set up an IAM user/role early so your team isn't sharing root credentials.
- Region-specific KYC — EMEA/UK/Korea sellers must complete KYC before disbursement.
Next step
Approved seller with tax & banking verified? You've finished Stage 1. Continue to Stage 2 → Connect & Go Live to link your AWS account to Automatum.
Need Help?
Contact hello@automatum.io or use the in-app chat for help with AWS onboarding.